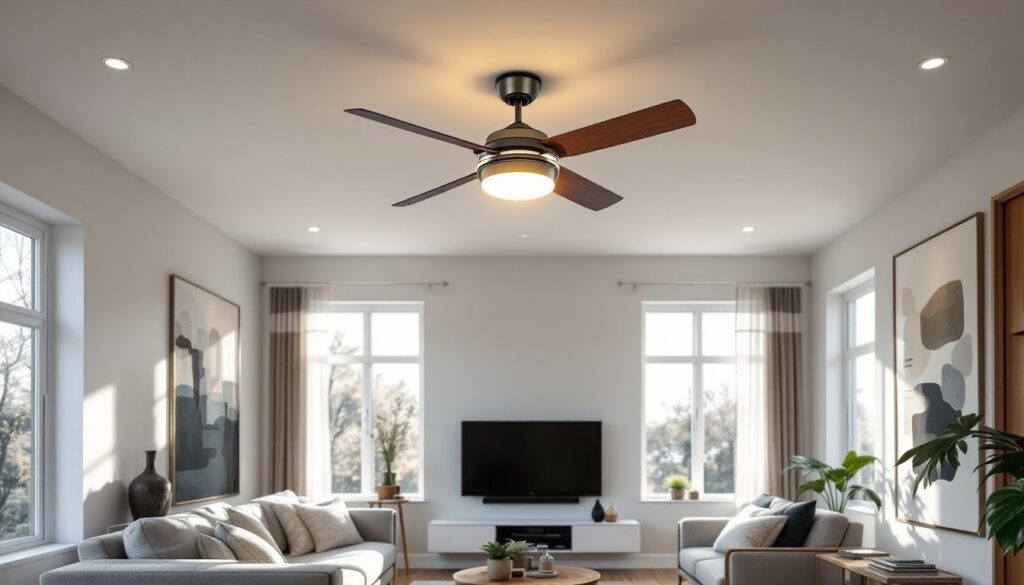
A modern ceiling fan with light does triple duty: it circulates air, cuts energy costs, and serves as a focal point in your living room. Whether you’re replacing an outdated fixture or installing your first integrated system, choosing the right fan and light combo matters, it affects comfort, ambiance, and how often you’ll actually use it. This guide walks you through what to look for, how to install it properly, and how to keep it running smoothly for years. Let’s get started.
Table of Contents
ToggleKey Takeaways
- A modern ceiling fan with light combines air circulation, energy savings, and aesthetic appeal in a single integrated fixture that streamlines your living room design.
- Choose a brushless DC motor rated under 25 decibels for quiet operation and select LED lighting with dimmable capabilities for both comfort and efficiency.
- Select a 52-inch fan for standard living rooms with 3,000–4,500 CFM on high speed, ensuring proper sizing for effective air circulation without excessive noise.
- Install the modern ceiling fan with light using a fan-rated junction box and verify safe electrical connections before operation to prevent safety hazards.
- Maintain your ceiling fan by dusting blades every 3–6 months, checking blade attachment annually, and verifying dimmer compatibility to ensure long-term performance.
Why Ceiling Fans With Integrated Lighting Are Perfect for Modern Living Rooms
A ceiling fan with integrated lighting combines two essential fixtures into one, freeing up wall space and electrical circuits. Unlike traditional fans paired with separate track lights or pendants, an integrated unit streamlines your ceiling and reduces clutter visually, something modern design prioritizes.
From a practical angle, the upward air circulation helps your HVAC system work more efficiently. In winter, fans push warm air down from the ceiling: in summer, they create a cooling breeze that lets you raise the thermostat slightly. That translates to measurable utility savings if you’re running the fan consistently.
The integrated light also means you’re not cramming multiple fixtures into a single junction box (the recessed electrical outlet behind the drywall). This simplifies installation and reduces the risk of code violations or overloading circuits. Most modern ceiling fans with lights are rated for living rooms between 100 and 300 square feet, so sizing is straightforward. Ceiling Fans for Living discusses how these units transform comfort in residential spaces. The aesthetic payoff is real, too, a sleek fan with a low-profile light fixture enhances contemporary, mid-century, or transitional decor without the bulk of older fan-light hybrids.
Key Features to Look For in a Modern Ceiling Fan With Light
When shopping, focus on these core attributes: motor quality, blade design, lighting output, and noise rating. A brushless DC motor (not a traditional AC motor) runs quieter, lasts longer, and uses 30–50% less energy. Look for fans rated less than 25 decibels on the lowest speed, anything above that will interrupt conversation or TV watching. Check the CFM (cubic feet per minute) rating: a living room fan typically needs 3,000–4,500 CFM on high speed. Too underpowered, and you won’t feel a difference: too high, and you’ll run it only on low, defeating efficiency gains.
The light source matters enormously. LED fixtures are standard now: they run cool, last 15,000+ hours, and deliver consistent brightness without the heat waste of incandescent bulbs. Make sure the fan supports dimmable LEDs if you want mood control, not all integrate well, and you’ll want smooth dimming, not flickering. The blade material affects both durability and look: wood blades suit traditional spaces but require occasional staining or cleaning: metal or composite blades work with modern décor and resist dust and moisture better in high-humidity rooms.
Design Aesthetics and Size Considerations
Modern ceiling fans come in several design camps: sleek low-profile units (ideal for 8–9 foot ceilings), flush-mount designs that sit almost flat against the ceiling, and statement fans with sculptural blades. Living rooms typically favor 52-inch diameter fans, large enough to move air effectively without dominating a standard ceiling. If your room is under 75 square feet, a 42-inch fan suffices: above 200 square feet, you might need two fans or a larger commercial-grade unit.
Color and finish follow décor. Matte black and brushed nickel are current favorites because they blend with most interiors. Wood tones (walnut, oak) add warmth to traditional or eclectic setups. The light shade or diffuser is equally important, look for frosted or opal glass for soft, diffused lighting, and avoid cheap plastic shades that yellow or warp after months. Wall Lights for Living offers complementary lighting strategies if you want layered ambiance beyond the ceiling fan.
Motor Performance and Noise Levels
The motor is the fan’s heart. A three-speed or variable-speed motor gives you flexibility, low for gentle circulation and near-silent operation, high for serious cooling. Variable-speed fans with remote controls or wall switches are standard: some integrate with smart home systems. If you’re interested in broader automation, Smart Living Room Ideas: explores how fans fit into connected ecosystems.
Noise depends on bearing quality, blade balance, and motor design. Fans with sealed ball bearings run smoother than oil-rubbed bronze units (which require occasional maintenance). Listen to decibel ratings in context: a 22–24 dB fan on low is nearly imperceptible: 26–28 dB on medium is noticeable but unobtrusive: 30+ dB on high gets loud. Read reviews specifically about noise: some brands cut corners on balance, and a slightly more expensive unit from a trusted manufacturer often outperforms a bargain option by several decibels.
Installation Basics for Your Living Room
Before you buy, confirm your ceiling can support a fan. Most modern fans weigh 8–15 pounds: your junction box must be a fan-rated bracket (marked UL for ceiling fan use), not a standard light fixture box. If your house is older, the existing box might not be rated, you’ll need to install an adjustable brace between joists, adding 1–2 hours to the job. This isn’t cosmetic, a fan ripping loose from an improperly rated box is a safety hazard.
Turn off power at the breaker and verify it’s off with a non-contact voltage tester before touching any wires. Remove the old fixture completely, noting wire colors and connections. If you’re replacing a light with a fan-light combo, you may have extra wires (ground, neutral, hot): don’t assume the old setup is compatible.
Here’s the basic sequence:
- Install the mounting bracket to the junction box using the hardware provided (not the original light fixture mounting).
- Connect the ground wire (green or bare) first, twist it to the fan’s ground using a wire nut rated for the wire gauge.
- Connect the neutral wire (white) and hot wire (black) next, again using appropriate wire nuts.
- Secure any control wires if the fan includes a remote: these typically run through the canopy (the decorative cover at the ceiling).
- Slide the canopy up and secure it to the bracket.
- Attach the blades using brackets provided: hand-tighten first, then use a hex key or screwdriver to snug them fully, loose blades vibrate and create noise.
- Install the light shade or diffuser and bulbs or LED modules.
- Test on low speed first, then high, checking for wobble or unusual noise.
If the fan wobbles after installation, shut it off and recheck blade attachment, even one loose blade throws off balance. A balancing kit (available cheaply) adds small weights to blades if wobble persists after tightening.
You do not need a permit for a straightforward ceiling fan replacement in most jurisdictions, but if you’re adding a new circuit or moving the electrical junction, check your local IRC (International Residential Code) and municipal codes. When in doubt, consult a licensed electrician, the cost of a 30-minute consultation beats a code violation or a safety issue.
Maintenance Tips to Keep Your Fan Looking and Running Great
Dust accumulates fast on fan blades, reducing air movement and creating balance issues. Wipe down blades every 3–6 months with a damp microfiber cloth or old pillowcase, the pillowcase trick captures dust instead of flinging it into the air. For the light, clean the shade or diffuser gently to avoid streaking: warm water and a tiny drop of dish soap work fine for glass, and a dry cloth for plastic or metal.
Check blade attachment annually. A wobble at startup often signals a loose blade bracket. Shut off the fan and tighten all fasteners with the appropriate hex key or screwdriver, don’t over-tighten, but snug them firmly.
For LED lights, there’s minimal maintenance beyond dusting the fixture. If a dimmable fan isn’t dimming smoothly or flickers, the issue is usually an incompatible dimmer switch on the wall, not the fan itself. Most ceiling fans work with standard dimmers, but if yours is a high-end model, check the manual for compatibility.
If the fan hums or doesn’t start, the motor may need a reset. Most fans have a reset button or a pull chain: consult the manual. Humming without rotation suggests a jammed blade or bearing, turn off power, manually rotate the blades gently to check for obstructions, then try again.
For smart ceiling fans that integrate with home automation, keep the app or system firmware up to date. Connectivity hiccups often resolve with a restart, flip the breaker off for 30 seconds, then back on. Review resources like CNET’s smart home device guides and Digital Trends’ smart home reviews if you’re troubleshooting connected features or considering an upgrade.
Conclusion
A modern ceiling fan with light is an investment in comfort, style, and efficiency. By prioritizing motor quality, choosing the right size, and handling installation carefully, or hiring a pro if electrical work intimidates you, you’ll enjoy years of reliable operation. Start with these fundamentals, take your time with installation, and your living room will feel better for it.