A bay window isn’t just architectural detail, it’s wasted potential if you don’t use it strategically. That recessed nook with all that natural light could be a statement feature, a functional storage zone, or a private retreat. The challenge is deciding how to leverage it without cluttering the space or clashing with your existing living room design. Whether you’re working with a modest single window or a dramatic multi-pane setup, these seven ideas will help you transform that bay window into one of your living room’s most compelling features.
Table of Contents
ToggleKey Takeaways
- Bay window ideas should prioritize natural light while maintaining privacy by using sheer curtains, light-filtering treatments, or UV-protective films that block 99% of rays and protect furniture from damage.
- Transform your bay window into a cozy reading nook by installing a custom window seat (18–24 inches deep) with built-in storage and layered cushioning for under $400, or selecting appropriately scaled furniture like a loveseat or chaise lounge.
- Floating shelves installed at staggered heights (36, 48, and 60 inches from the floor) provide functional storage and display without consuming floor space, ideal for smaller living rooms.
- Match houseplants to your bay’s light direction—succulents for south-facing bays, shade-tolerant philodendrons for north-facing bays—and use odd-numbered groupings at varying heights for visual interest.
- Layer your lighting with task lights (swing-arm sconces at 48–60 inches), ambient options (fairy lights or dimmer switches), and accent lighting to create warmth and functionality from day to evening.
- Keep the bay window visually cohesive with your living room by using complementary colors, avoiding oversized furniture that blocks light, and letting the natural architecture remain the focal point.
Maximize Natural Light With Sheer Curtains And Glass Treatments
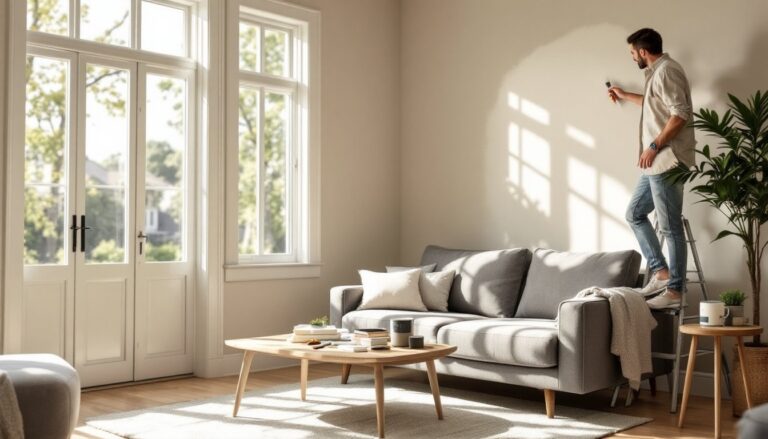
The first instinct many homeowners have is to cover their bay window entirely. Resist it. If your main goal is to amplify natural light in your living room, sheer curtains or light-filtering treatments should be your priority. They provide privacy without blocking sunlight, and they’re far more flexible than heavy drapes.
Sheer linen curtains allow diffused light to bounce throughout the space while softening harsh glare on furniture and flooring. They’re especially effective if your bay faces south or west, where afternoon heat and UV damage become real concerns. Pair sheers with a motorized roller shade or Roman shade for functional light control when you need it, no manual adjustments required if you opt for smart-home compatible models.
Anti-glare or UV-protective window film is another underrated option. Transparent films block 99% of UV rays while maintaining clarity, extending the life of upholstery, wood floors, and artwork. Films cost between $200–$500 for a standard bay window and require no ongoing maintenance.
If you want color or pattern, consider sheer panel curtains in soft pastels or subtle geometric prints instead of solid blacks or dark grays. These maintain that airy feel while adding visual interest. Install a rod high and wide, ideally 8–12 inches beyond the window frame, to maximize the illusion of space and light penetration.
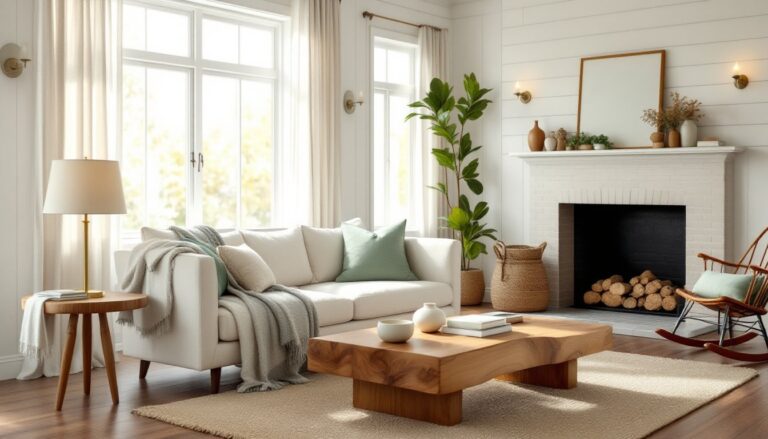
Create A Cozy Reading Nook With Seating And Pillows
A bay window is practically begging to be a reading corner. The natural light, the recessed alcove, the architectural frame, it all works together. The key is choosing furniture that fits the depth and width of your bay without blocking sightlines from the rest of the living room.
Window seats with built-in storage are the gold standard here. A custom-built bench with a depth of 18–24 inches and cushioning 4–6 inches thick gives you comfortable seating without eating into floor space. If custom work isn’t in your budget, a store-bought loveseat or chaise lounge scaled down to fit the bay accomplishes the same goal. Measurements matter: measure the inside width of your bay and subtract 4 inches on each side for trim and comfortable movement.
Then layer in throw pillows and blankets. A mix of textures, linen, velvet, chunky knit, makes the space feel intentional rather than sparse. Stick to a cohesive color palette: if your living room features living room paint colors, your bay nook should complement rather than compete with it.
Add a small side table (12–18 inches wide) for a mug, book, or lamp. A narrow console table or even a metal plant stand works in tight spaces. Avoid oversized furniture that makes the bay feel cramped or blocks natural light. The whole point is to create an inviting retreat that feels like part of the living room, not a closed-off room.
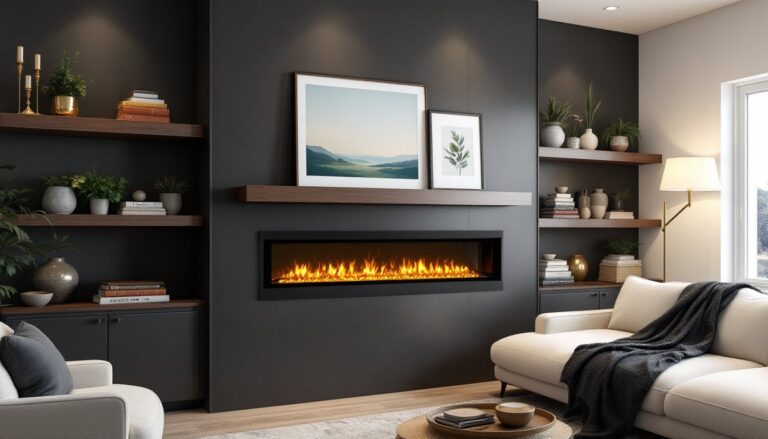
Install Floating Shelves For Storage And Display
If floor space is already claimed by furniture, go vertical. Floating shelves turn a bay window into functional display storage without the visual weight of a cabinet. They’re ideal for smaller living rooms where every inch counts.
Install shelves at staggered heights, a common mistake is lining them up in neat rows, which reads as boring and institutional. Try 36 inches, 48 inches, and 60 inches from the floor to create visual rhythm. Use bracket spacing of no more than 24 inches on center for shelves holding books or décor: consult load rating specifications on your brackets (typically 25–75 pounds per pair depending on material and wall type).
Before drilling, locate the studs in your bay window frame. Standard framing places studs 16 inches on center: use a stud finder to confirm. Anchor brackets directly into studs whenever possible. If you can’t avoid gaps, use heavy-duty toggle bolts or expanding anchors rated for drywall: avoid hollow-wall anchors for anything heavier than lightweight décor.
Fill shelves with books, small plants, framed photos, and curated objects rather than random clutter. The visual weight should be balanced, don’t stack all books on one shelf and leave another empty. If your bay receives good natural light, low-maintenance trailing houseplants in small pots add life without demanding frequent watering. Layering with interior design ideas from sources like Homedit can spark creative shelf styling that feels fresh for 2026.
Add A Window Seat With Custom Cushioning
A window seat bridges the gap between built-in permanence and flexible furniture. Unlike a standalone bench, a true window seat is built directly into the bay’s structure, creating storage underneath and a polished, tailored look.
DIY window seats are manageable if you’re comfortable with basic carpentry. Frame a 18–24 inch deep box using 2×10 or 2×12 lumber (actual dimensions: 1.5″ × 9.25″ or 1.5″ × 11.25″), securing it to the bay’s wall studs and any existing trim with 2.5-inch deck screws. Install a hinged lid on top for hidden storage, or go with a fixed plywood top if you prefer simpler construction. Sand all edges and apply primer and paint to match your living room: don’t skip this, raw wood won’t hold up to humidity and sunlight.
For cushioning, order a custom foam cushion (4–6 inches thick, high-density foam rated for seating) with a washable slipcover. Budget $150–$400 depending on size and fabric quality. Measure twice: cushions are expensive to remake if dimensions are off.
If building from scratch feels daunting, hire a local carpenter. The labor cost ($400–$1,000 depending on your region) is worth it for a professional fit and finish that won’t sag or crack. Pair your window seat with ambient wall lights for living rooms to create a functional and inviting retreat within your living room.
Use Plants And Greenery To Brighten The Space
Living greenery softens hard architectural lines and brings nature’s color palette into your bay window. The key is matching plant types to your light conditions, bay windows vary dramatically depending on direction and nearby obstructions.
South-facing bays get intense, direct light: thriving plants include succulents, snake plants, ZZ plants, and pothos. North-facing bays are shadier: look for philodendrons, peace lilies, and cast iron plants that tolerate lower light. East or west-facing bays fall in the middle and accommodate most houseplants.
Container choice matters as much as the plant. Use terracotta pots with drainage holes, non-porous pots trap moisture and lead to root rot. Pot size should be 1–2 inches larger than the plant’s root ball: oversized pots hold too much water. Group odd numbers of plants (three, five, seven) at varying heights using plant stands or stacked books to create layered interest.
Water management is critical in a sunny bay window. Soil dries faster near glass, so check moisture levels twice weekly during warm months. If your bay gets afternoon sun, consider installing a sheer curtain or shade to diffuse light and reduce evaporation, protecting both plants and furniture from UV damage.
A living wall of greenery also improves air quality and creates a calming focal point. The visual softness of foliage balances the geometry of window panes and trim, making the entire bay feel more inviting and less austere.
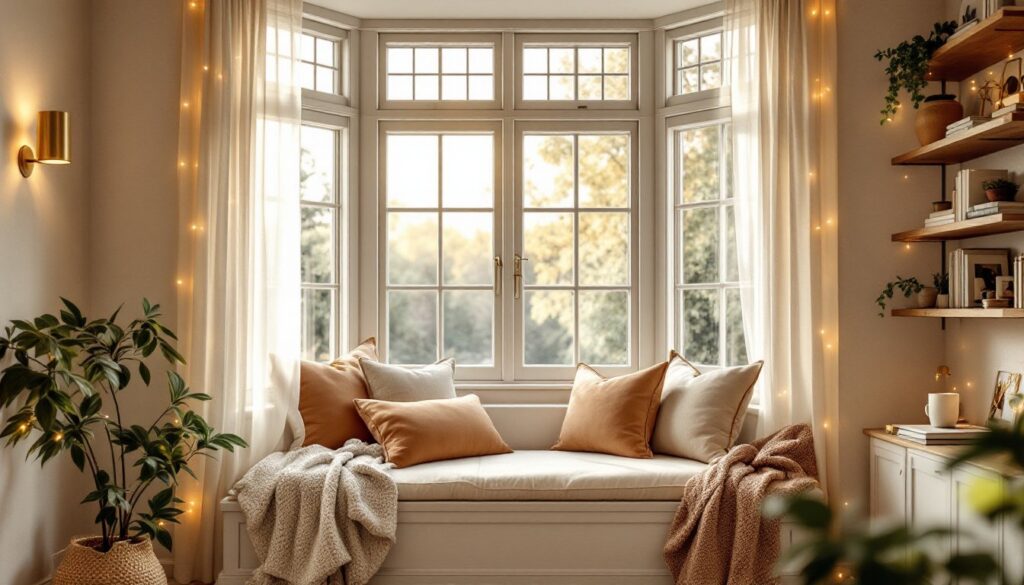
Layer Lighting For Ambiance And Function
Bay windows during daylight hours need no supplemental lighting, but evenings are a different story. Layered lighting transforms your bay from a bright, airy daytime feature into a warm, inviting evening retreat.
Task lighting supports reading or detailed work. A swing-arm wall sconce with an E26 socket and 60–75 watt equivalent LED bulb provides focused light without taking up table space. Position sconces at eye level (roughly 48–60 inches from the floor) beside a seating area. For a window seat, flank the cushion with matching sconces on either side for balanced illumination.
Ambient lighting sets mood. String warm white LED fairy lights or Edison bulbs along the window frame for a softer glow, or install a dimmer switch on your ceiling fixture if your bay connects directly to the main living room light. Avoid harsh fluorescents: they flatten the space and make even well-designed bay windows feel institutional.
Accent lighting highlights décor or plants. A small uplighter or spotlight tucked behind plant groupings creates depth and shadows that make the bay feel more three-dimensional. If you’re integrating smart living room ideas, consider smart bulbs or motion-sensor switches to automate lighting based on time of day or occupancy.
Wiring note: If you’re adding new sconces or fixtures, check your local electrical code (NEC 410.4 for outlet spacing), most jurisdictions require outlets every 6 feet along walls. If your bay has no nearby outlet, running new circuits may require a licensed electrician, especially if the circuit ties to a load-bearing wall. Budget $150–$300 for professional installation.
Layering these three light types ensures your bay window is functional at all hours while maintaining that open, airy daytime aesthetic.
Conclusion
Your bay window is far too good to ignore. Whether you prioritize maximizing light, creating a reading retreat, adding storage, or crafting a multi-functional space, these seven approaches give you concrete, implementable options. Start with one idea that addresses your most pressing need, natural light, seating, or display space, and build from there. Most of these projects are within reach for a competent DIYer, though custom cabinetry and electrical work may warrant professional help. With thoughtful planning and practical execution, that architectural feature becomes one of your living room’s most beloved spots.