Built-in shelving, entertainment centers, and window seats aren’t just decorative flourishes, they’re strategic investments that solve real problems in your living space. Whether you’re working with a sprawling open layout or a compact apartment, custom built-ins maximize every inch while adding architectural character that off-the-shelf furniture can’t match. This guide walks you through the most practical living room built-in ideas for 2026, from planning and material selection to deciding whether to tackle the project yourself or hire a pro.
Table of Contents
ToggleKey Takeaways
- Living room built-in ideas maximize storage and minimize clutter by reclaiming wasted wall space while adding architectural character that standalone furniture cannot match.
- Custom built-ins often recoup 50–80% of their cost at resale and significantly boost home appeal to buyers, making them a strategic investment beyond immediate aesthetics.
- Floating shelves, floor-to-ceiling cabinetry, and hybrid open-and-closed systems are the three main built-in shelving approaches, each suited to different styles and storage needs.
- Proper planning—measuring twice, locating studs, and understanding local building codes—is essential before installation; most living room projects require permits only if they modify structure or electrical systems.
- Start with small DIY projects like floating shelves to build confidence, then scale up to complex entertainment centers or professional installations when carpentry expertise, structural changes, or cable management precision are required.
Why Add Built-Ins to Your Living Room
Maximize Storage and Minimize Clutter
Built-ins reclaim wasted wall space and eliminate the need for bulky standalone furniture. Unlike a bookcase that eats floor area, wall-mounted shelving above a sofa or flanking a fireplace keeps your living room feeling open while storing books, decor, and media. Custom cabinetry with closed storage hides remotes, blankets, and everyday clutter behind doors, maintaining a clean sightline even when the space is lived-in. For living rooms in homes where space-saving solutions are essential, built-ins are non-negotiable.
Measure twice: floor-to-ceiling dimensions, wall length, and any obstructions (outlets, baseboards, crown molding) before designing. Most living rooms have at least 30–40 linear feet of usable wall space: even a modest shelving unit running 8–10 feet captures 200+ square inches of storage without consuming the room.
Boost Your Home’s Value and Appeal
Potential buyers view built-ins as a sign of thoughtful renovation and quality craftsmanship. Custom shelving and entertainment centers often recoup 50–80% of their cost at resale, especially in competitive markets. They also photograph well for listings, adding visual interest that empty walls don’t provide.
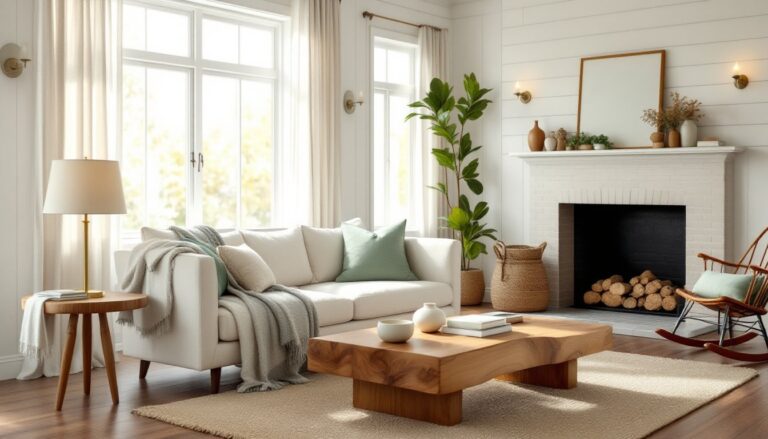
Beyond resale value, built-ins define your living room’s personality. A cottage style living room with rustic painted shelves and a cozy window seat feels intentional and curated. Buyers, and visitors, notice the difference between a room with generic furniture and one with architectural purpose.
Custom Built-In Shelving Solutions
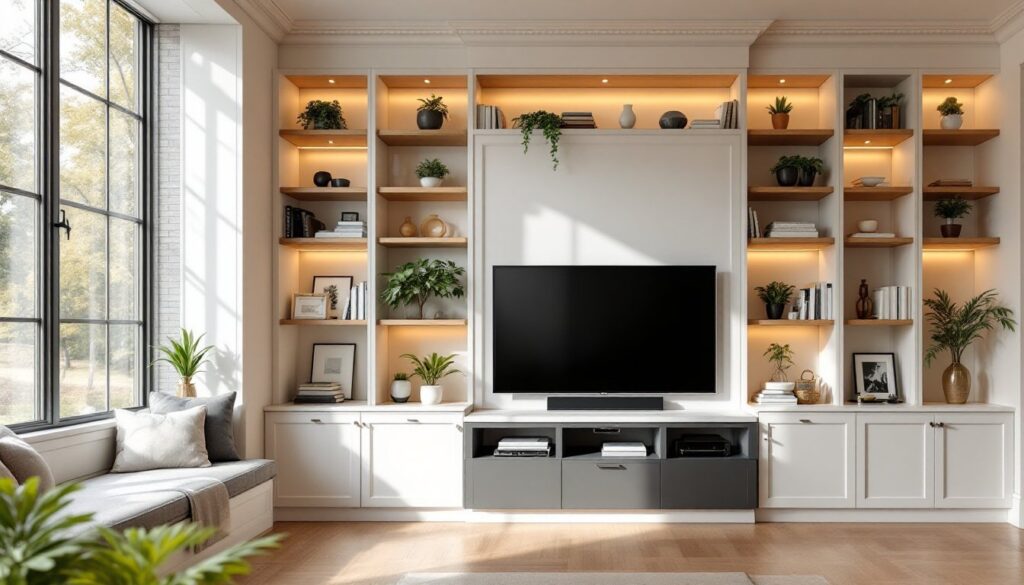
Floating shelves, floor-to-ceiling cabinetry, and hybrid open-and-closed systems are the three main approaches. Each suits different aesthetics and functional needs.
Floating shelves (typically 8–12 inches deep and 24–48 inches wide) work best for displaying books, plants, and décor. Install them with hidden ledger boards, horizontal supports secured directly to studs, using heavy-duty brackets rated for at least 50 pounds per shelf. For living rooms, space them 12–18 inches apart vertically to avoid a cramped look. Cost runs $50–150 per shelf installed, depending on material (pine, oak, or engineered wood).
Floor-to-ceiling cabinetry offers maximum storage and a built-out appearance. Frame the sides with 2×4 studs, create a toe kick (recessed base, typically 4–6 inches high and 3–4 inches deep) for comfortable standing, and face everything in your choice of finish. Paint, stain, or shiplap works equally well: the finish sets the tone. This route costs $2,000–$8,000+ for a 10-foot wall, but it transforms the entire room.
Hybrid shelving, alternating open and closed storage, balances display and concealment. Open shelves above closed cabinets keep clutter hidden while letting you showcase favorite pieces. This is ideal for themed living room designs where your decor is intentional and curated.
Before cutting any wood, check for electrical outlets and studs using a stud finder and outlet detector. Shelves must anchor to studs for safety: drywall anchors alone won’t hold sustained weight. Most code requires vertical bracing every 16 inches, so frame accordingly.
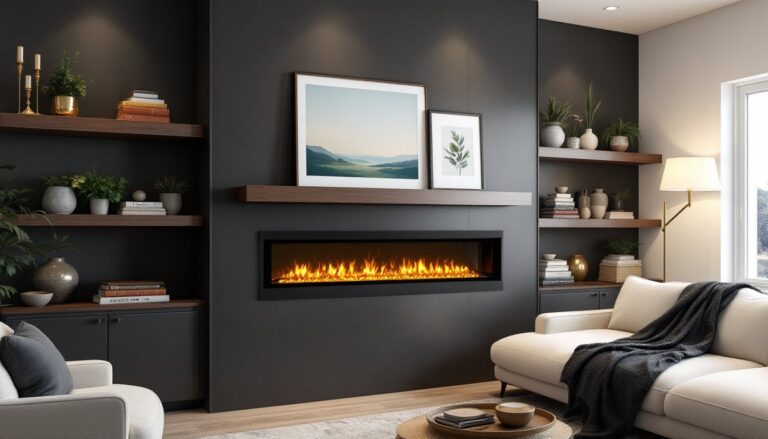
Entertainment Centers and Media Built-Ins
A custom entertainment center keeps cables, components, and screens neatly integrated instead of scattered across surfaces. Modern designs accommodate flat-panel TVs, soundbars, and streaming devices without looking like a tech pile.
Framing and sizing: Build the TV cavity 1–2 inches wider than your screen’s width to allow cable access. Center it at eye level when seated (typically 42–48 inches from the floor to the screen’s center). Flank it with shelving for speakers, media players, and decorative accents. Allocate 8–10 inches of vertical clearance above and below the TV for ventilation and cable routing.
Cable management is critical. Drill holes behind the TV cavity and route cables through the wall cavity (horizontally between studs, within code) or hide them in conduit clipped to the inside of the frame. Label every cable at both ends before burying it. This saves heartache during future upgrades.
Material choices: Paint the surround matte black or charcoal to minimize reflections and focus attention on the screen. Use contrasting stain or lighter finishes on flanking shelves to create visual hierarchy. Avoid high-gloss finishes on the viewing wall, they reflect light and strain the eyes during extended watching.
Don’t skip ventilation. Electronics generate heat: your center should have at least 2–3 inches of open airflow around components. Consider rear cabinet panels with drilled holes or a backing that’s set back 1 inch from the frame to prevent hot spots. Resources like Homedit offer excellent design examples balancing form and functionality.
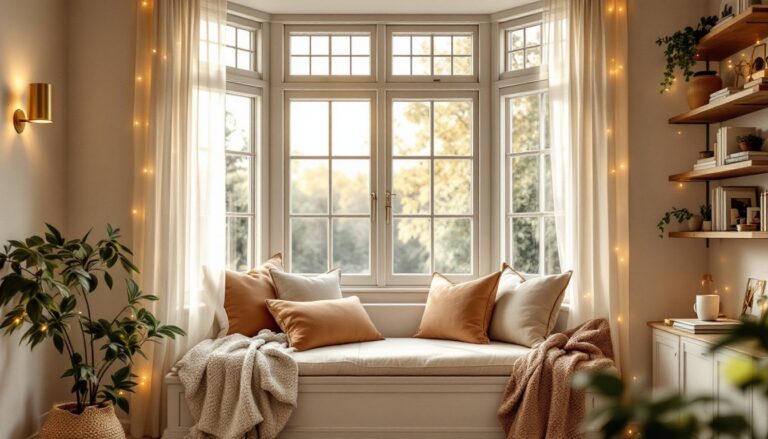
Window Seats and Nooks
A window seat transforms an overlooked corner into the most inviting spot in the house. It’s also one of the most forgiving DIY projects because mistakes are hidden under cushions and throw pillows.
Basic construction: Frame a platform (a raised, cushioned box) using 2×6 or 2×8 lumber for the front and sides, supported by 2×4 legs anchored to floor joists. The frame should be 14–18 inches high and 20–24 inches deep to accommodate an adult sitting comfortably. Secure the frame to the wall with L-brackets and to the floor with lag bolts into floor joists. For smaller windows, a 4–6 foot bench seat suffices: larger windows support wraparound seating along the entire sill.
Storage underneath: Hinge the seat platform to access storage beneath, throw pillows, blankets, or books. Use butt hinges and pneumatic struts to keep the lid from slamming. Drill a finger hole or install a small handle. Ensure the hinge pivot point is centered and the struts are rated for your seat’s weight.
Finishing: Paint or stain the frame to match your trim or shelving. Top it with a cushion 4–6 inches thick: custom foam from fabric suppliers runs $100–300, or buy a pre-made cushion and have it tailored to fit. Layer throw pillows and a quilt for warmth and texture.
Safety and code: Window seats must not block egress (emergency exit) in bedrooms. In living rooms, this isn’t typically an issue, but always verify your local code. Cushions themselves don’t require special fireproofing, but check that foam and batting meet CFF 1633 standards if you’re buying new materials.
For cabin-style homes, a cabin living room window seat in rough-hewn wood or distressed finish becomes a signature feature.
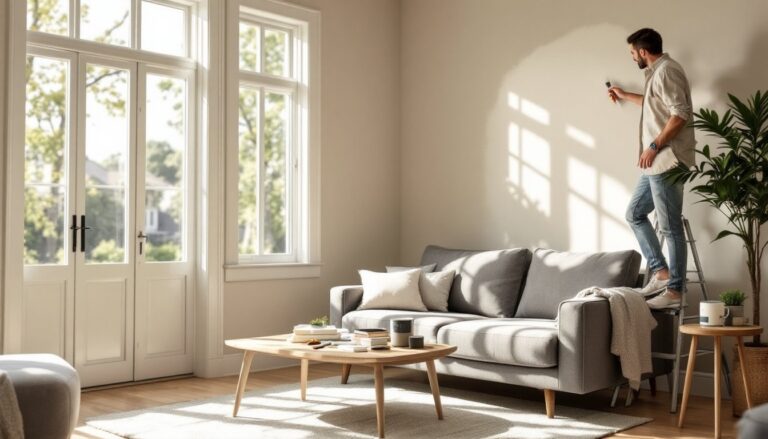
DIY vs. Professional Installation
DIY shelving (floating shelves, basic painted cabinetry, simple frames) is realistic for anyone comfortable with basic tools: drill, miter saw, level, stud finder, and tape measure. Mistakes are usually cosmetic, a slightly uneven edge gets sanded, misaligned shelves come down and go back up. Material costs for a 10-foot shelving project run $300–800: labor savings are $1,000–3,000.
Professional work makes sense for:
- Complex carpentry: Anything requiring miter joints, dados, or multiple angles. A pro’s tool arsenal (table saw, pneumatic nailer, thickness planer) produces cleaner results faster.
- Structural modifications: Removing a section of wall or integrating new shelving into an existing doorway frame requires understanding load-bearing walls and potential permit requirements.
- Entertainment centers: Cable routing, TV mounting at precise angles, and integrated lighting demand precision that saves rework.
- Load-bearing scenarios: If shelving must support a safe installed near a window or spanning a wide wall, a contractor’s structural knowledge prevents costly failures.
Permit requirements vary by region and scope. Most built-in shelving doesn’t require a permit if it’s not load-bearing or modifying the structure. But, removing a wall section, relocating electrical outlets, or installing recessed lighting typically does. Contact your local building department before starting, the $200–500 permit fee is cheaper than fixing a code violation.
Hybrid approach: Many homeowners frame the skeleton themselves (studs, blocking, backing boards) and hire a pro for finishing carpentry, doors, and hardware installation. This saves money while ensuring a polished result.
<h2 id="” data-id=””>Bringing It All Together
Built-ins transform your living room from generic to intentional. Whether you’re starting with floating shelves, a media wall, or a cozy window nook, the key is honest assessment of your skill level, available time, and tolerance for imperfection.
Start small. A single floating shelf above a side table teaches you the basics, anchoring to studs, achieving level, finishing edges. Success builds confidence for larger projects. Document your process with photos: future renovators and buyers will appreciate seeing how things are built.
Visit design platforms like Homify or MyDomaine to gather inspiration specific to your aesthetic, whether that’s eclectic living rooms with mismatched shelves or minimalist lines. Then translate inspiration into a measured plan, gather materials, and commit to the work.
Your living room is where you spend evenings, host conversations, and make memories. Built-ins that fit your needs, not Pinterest’s, make the space genuinely yours.